Has your laptop hard drive ever crashed, leaving you staring at a black screen and a blinking command prompt, with the message NTLDR missing? Do you remember the feeling of being helpless and stranded? Have you ever turned on your computer, only to hear the ominous, repetitive whirring and clicking of a hard drive that has read its last byte? No? Then lucky you. The rest of us that have, know how exasperating the process of picking up the pieces is.
More and more, we find that the computers we own these days are smaller and lighter than those we used even as recently as five years ago. In an effort to shrink down the footprints of their offerings, PC manufacturers now omit certain components, which were once considered staple. One of the first components to go, sadly, was the optical drive, also known as the CD / DVD / CD-RW / DVD-RW / DVD-R / DVD+R / BD-ROM / HD-DVD drive / e.t.c. drive. Back when virtually all computers had these, it was easy to restore your Windows installation and settings using your recovery CD or DVD. These days, most computers come with a recovery partition embedded on the hard drive, obviating the need for a recovery DVD. While this may make things more convenient, it can complicate matters – especially if the entire hard drive gets corrupted. But, fear not, here are some easy steps to follow to create tools that can help you get back on track. (DON’T WAIT UNTIL YOUR COMPUTER CRASHES. DO THIS AS SOON AS POSSIBLE)
If you are a Windows 7 user, these are the things you need:
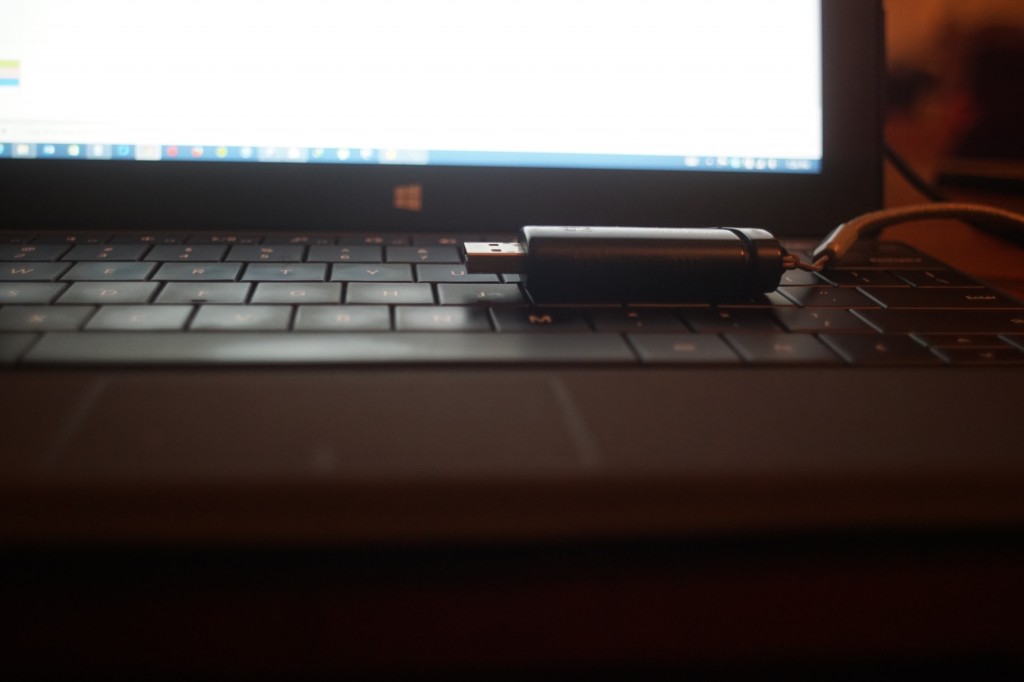
1. An empty USB Flash Drive (4GB or larger)
2. A Windows 7 DVD / ISO file (for the version you have installed)
3. Windows 7 USB/DVD Download Tool. Click Here to get it.
4. A device that is running Windows
With the flash drive inserted into the device running Windows, run the Windows 7 USB/DVD Download Tool. The step-by-step instructions in the pop-up Windows will guide you through the creation process. At some point, the tool will request for the Windows 7 disc / ISO file. If you have the disk, this stage would be the time to insert it into your computer. If you don’t, and have the ISO instead, just point to the location of the ISO on your computer, and the tool will do the rest.
If you are a Windows 8 user, these are the things you need:
1. An empty USB Flash Drive (4GB or larger)
2. A windows 8.1 DVD, ISO file or product key
3. A device that is running Windows
*If you have a Windows 8 product key, you can download the Windows 8.1 ISO file directly from Microsoft’s servers, and create a bootable USB drive.
The steps here are a little different from the Windows 7 procedure. Here, double click the Setup file included with your Windows 8 media – either downloaded or on DVD. Next, select the option “Install by Creating Media”. Then, select USB flash drive (it should be the default choice) and insert your empty USB flash drive. Accept any prompts to erase the contents of the USB drive and follow the on-screen step-by-step instructions to complete the creation process.
**Remember to make weekly backups of your essential files (pictures, movies, music, e.t.c.) and documents (PowerPoint, Excel, Word, e.t.c.). That way, if your computer does crash and you have to restore using a recovery stick, you can transfer your backups back to your computer and be up and running in no time.
KEEP YOUR BOOTABLE FLASH DRIVE IN A SAFE PLACE; YOU NEVER KNOW WHEN YOU MIGHT NEED IT. 🙂
I hope you find this helpful. Feel free to leave any questions or comments below.