
Today, we’ll be looking at really simple hair bands you can make to – match your outfits, solve bad-hair-day problems or add a fancy touch to your outfit.
Difficulty Level: Ridiculously Easy
Time: 10mins
Items Needed
- Fabric (will be cut into strips based on the circumference of the head that will wear the band)
- A Pair of Scissors
- Fabric Glue (I used UHU)
How To:
1. Measure the circumference of the head that will wear the band. Add about five inches to the measured value (This allowance is useful for tying knots).
2. Cut three strips from your fabric. For this tutorial, I recommend cutting the fabric along the bias. As indicated in the photo below, the Selvage/Selvedge of a measure of fabric is the finished edge that seems ‘sealed’. Cutting the fabric diagonally (with reference to the selvedge) is the bias cut, also shown in the photo. The bias usually has a stretchy feel, which is a good thing for this band. Each of the bias strips you cut should be about 4” wide and as long as you measured in Item 1 above. (Don’t forgetting the tying allowance!)

3. Hide the fraying edges of your fabric strips. This step is not very important but it helps you manipulate the strips, in the steps that follow.

Apply a thin line of glue along the center of the strip.

Fold in one-third of the fabric strip onto the glue.
Apply another line of glue to the remaining frayed edge of the fabric.

Fold in the edge with the glue. You’ll end up with a fabric strip with neat edges, like this one.
Do this for all three fabric strips.
4. Seal one end of your three strips together. There’s no hard and fast rule for this. You may decide to tie them together and reinforce with glue, or tack them together and cover up with a piece of fabric. I rolled the longest of my strips over the other two and sealed with glue.


5. Braid the three strips together.


The thickness of your braid depends on the thickness of the fabric strips you cut at the beginning.
If you want a thicker/bulkier band, make your strips wider than 4”.
6. After braiding, seal the strips like you did before you started braiding. Allow the glue to dry before putting it on your hair.
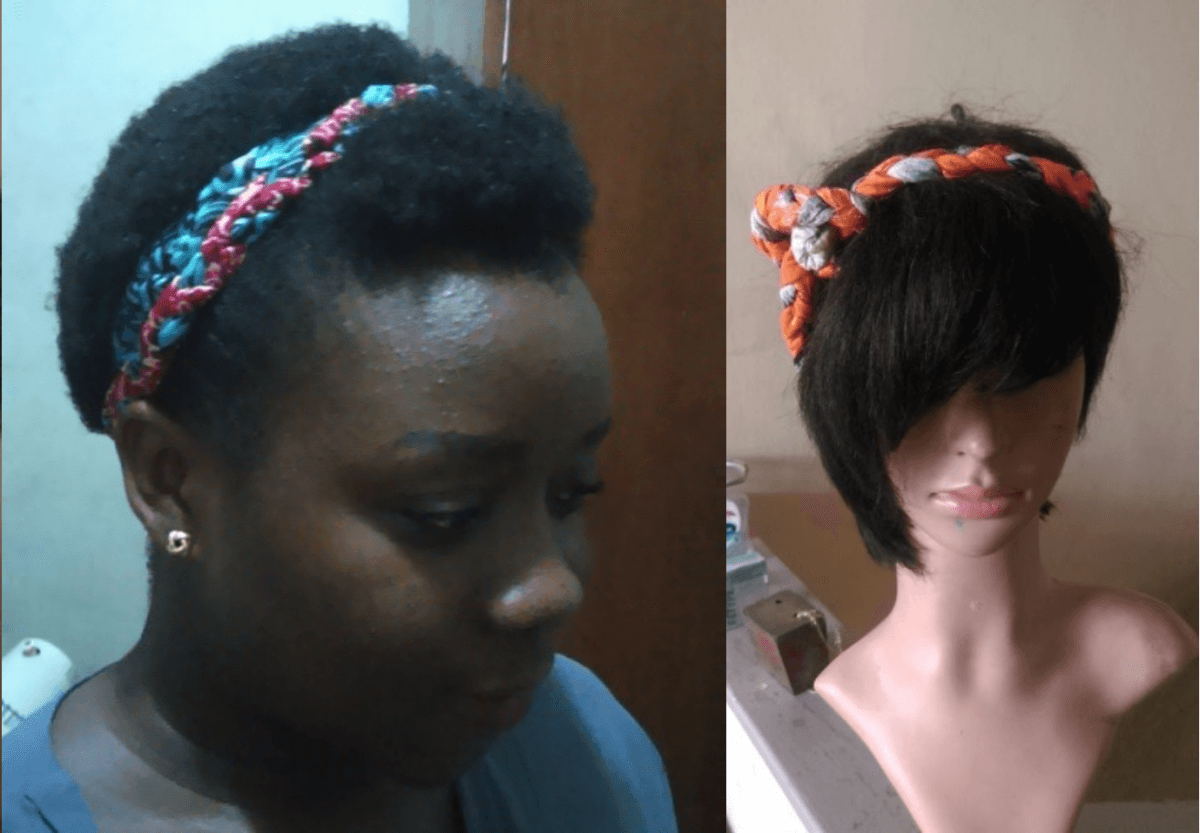
7. Take photos. Upload on Instagram and tag @kpakpakpacom and @bymide.


NB: For this piece, I made two different strips and joined them on a small piece of elastic band. It’s actually a slip-on. It’s a little more complicated, but you’re welcome to create your own version of it.